Curating your first exhibition!
This year in May, Myself, and a group of other artists in set out to curate our exhibition “Humans?”, featuring our own take on the project title. It was a thrilling and challenge project showcasing such a wide variety of art styles and media. Being able to collaborate to a final exhibition enjoyed by many was incredible experience that i believe all artists should consider. I wanted to share my experience of this journey to help others looking to curate their first exhibition!


Planning
As this was a collaborative effort, I wasn’t the sole curator of this exhibition. Each person displaying their work had a part to play in curating. This did spread the workload but having good communication is key to everyone being on the same page.
We had a list of things to accomplish in order to get the ball rolling for our exhibition:
-Find a suitable location
-Select the artworks you want to exhibit
-Come up with the exhibition theme/title
-Marketing the exhibition
-Designing the space
-Learning to instal the work
-Opening night
Finding a suitable location
Before anything can happen, you need to find a space to exhibit the work. The space itself will impact all future decisions (i.e. what works will be exhibited and dates/times of the exhibition.) Some things to consider when looking for a space:
-How accessible is the location? You want to ensure that everyone who wants to attend, can do so. Having a location that is out of the way can limit who attends based on travel options.
-Who would come to the location? Strangers? Friends? Is it a closed event or open to the public? You will need to make sure that the space is suitable for a steady stream of guests if it the latter.
-How large is the space? This will ultimately influence what work will be exhibited in said space. You want to be able to have guests be able to move around with ease to view the work.
-Can you alter the space? Some locations prohibit nailing into the walls, or repainting surfaces. This could be problematic if you wish to have your work hung flat on the wall.
-Is there a cost to use the space? Cost could be important when looking for a space, you might not necessarily have the funds to rent a location. Looking at fundraisers or charging upon entry could help balance this out, however some locations offer free spaces – so double check!
For our exhibition we explored many options, contacting cafe’s, local pubs as well as local gallery spaces before settling on a project space on the university campus. This seemed the best suited for what we wanted; it was central to the campus so students could easily access it, the building was also made public on those days so anyone from the public could view the exhibition.
Selecting works
Now that you have the location, selecting the work you want to exhibit is the next step. Doing this as a group is the best solution. Me and the rest of the curatorial team had a meeting at the exhibition location, there we were able to discuss our works and allocate spaces. We knew initially that we wanted to display more than one piece each. We planned the location accordingly to fit a lot of work, so we were able to display multiple pieces of work each without making the space feel ‘cramped’.
Once you have selected your works, you should look at allocating areas of the exhibition space to each person. Think whether or not you want to display work as individuals or have pieces scattered around the room. When allocating spaces you want to consider how you want the viewer to walk around the space, which order are they most likely to view things? We estimated that guests would walk clockwise upon entry to our chosen space, in doing so we looked at a possible narrative between our pieces. How does my work translate next to someone else’s? From there we allocated spaces that everyone was happy with.
Coming up with the theme/title
Coming up with the theme/title was easy for us, as we had planned to work as a group well in advanced around a since project topic. We were all exploring our experiences of what it means to be human, hence our title eventually being “Humans?”
However if you’re working with artists that work isn’t directly related, consider possible links between all the work being displayed. Are all the artists relatively new to the art scene? Do they all work in a similar media? Is the subject matter similar? Discussing the work itself with the artist may help unravel some themes previously unthought of.
Something to keep in mind however is the title of the exhibition will ultimately influence how the viewers look at the work, a first impression of sorts.
Marketing the exhibition
Marketing is perhaps one of the most important steps, you want people to come and view the work. You want to put effort into how you initially present the exhibition to others, they wont be seeing it until they enter, so give them a reason to! Deciding who you want to come view at the exhibition is key, especially on the opening night. If you have specific people in mind, perhaps good networks within the art community, extending a personal invitation wouldn’t go amiss.
As a group we extended personal invitations to family and friends. In regard to the public audience we looked at methods of getting the information out as efficiently as possible. Posters that could be printed off and shared on social media was our focus. A member of the curatorial team created an amazing poster with a unique illustration influenced by all the work being displayed, these were then printed off and hung all over Leeds.
Marketing is an incredibly valuable skill to develop and one I am still learning and improving on.
Designing the Space
So now you have a location and an allocated space and potentially guests to come see the exhibition. Now you need to plan how you’ll be displaying your work.
Personally I have 2 main methods of designing my space.
1. I would take a photo of the allocated space from multiple angles. This would then allow me to digitally photoshop the space to how I would like it to look.
2. I would measure out the allotted space on my floor/wall at home, and then play around with composition.
For this exhibition I did both, I didn’t have direct access to the space in the few days leading up to opening night, this meant that I had to design my space remotely. This plan doesn’t need to be strict, however we had less than 24 hours between access and opening night. So we had to consider what we could realistically achieve in this time, going in with a good idea of how you want your space to look will help massively.
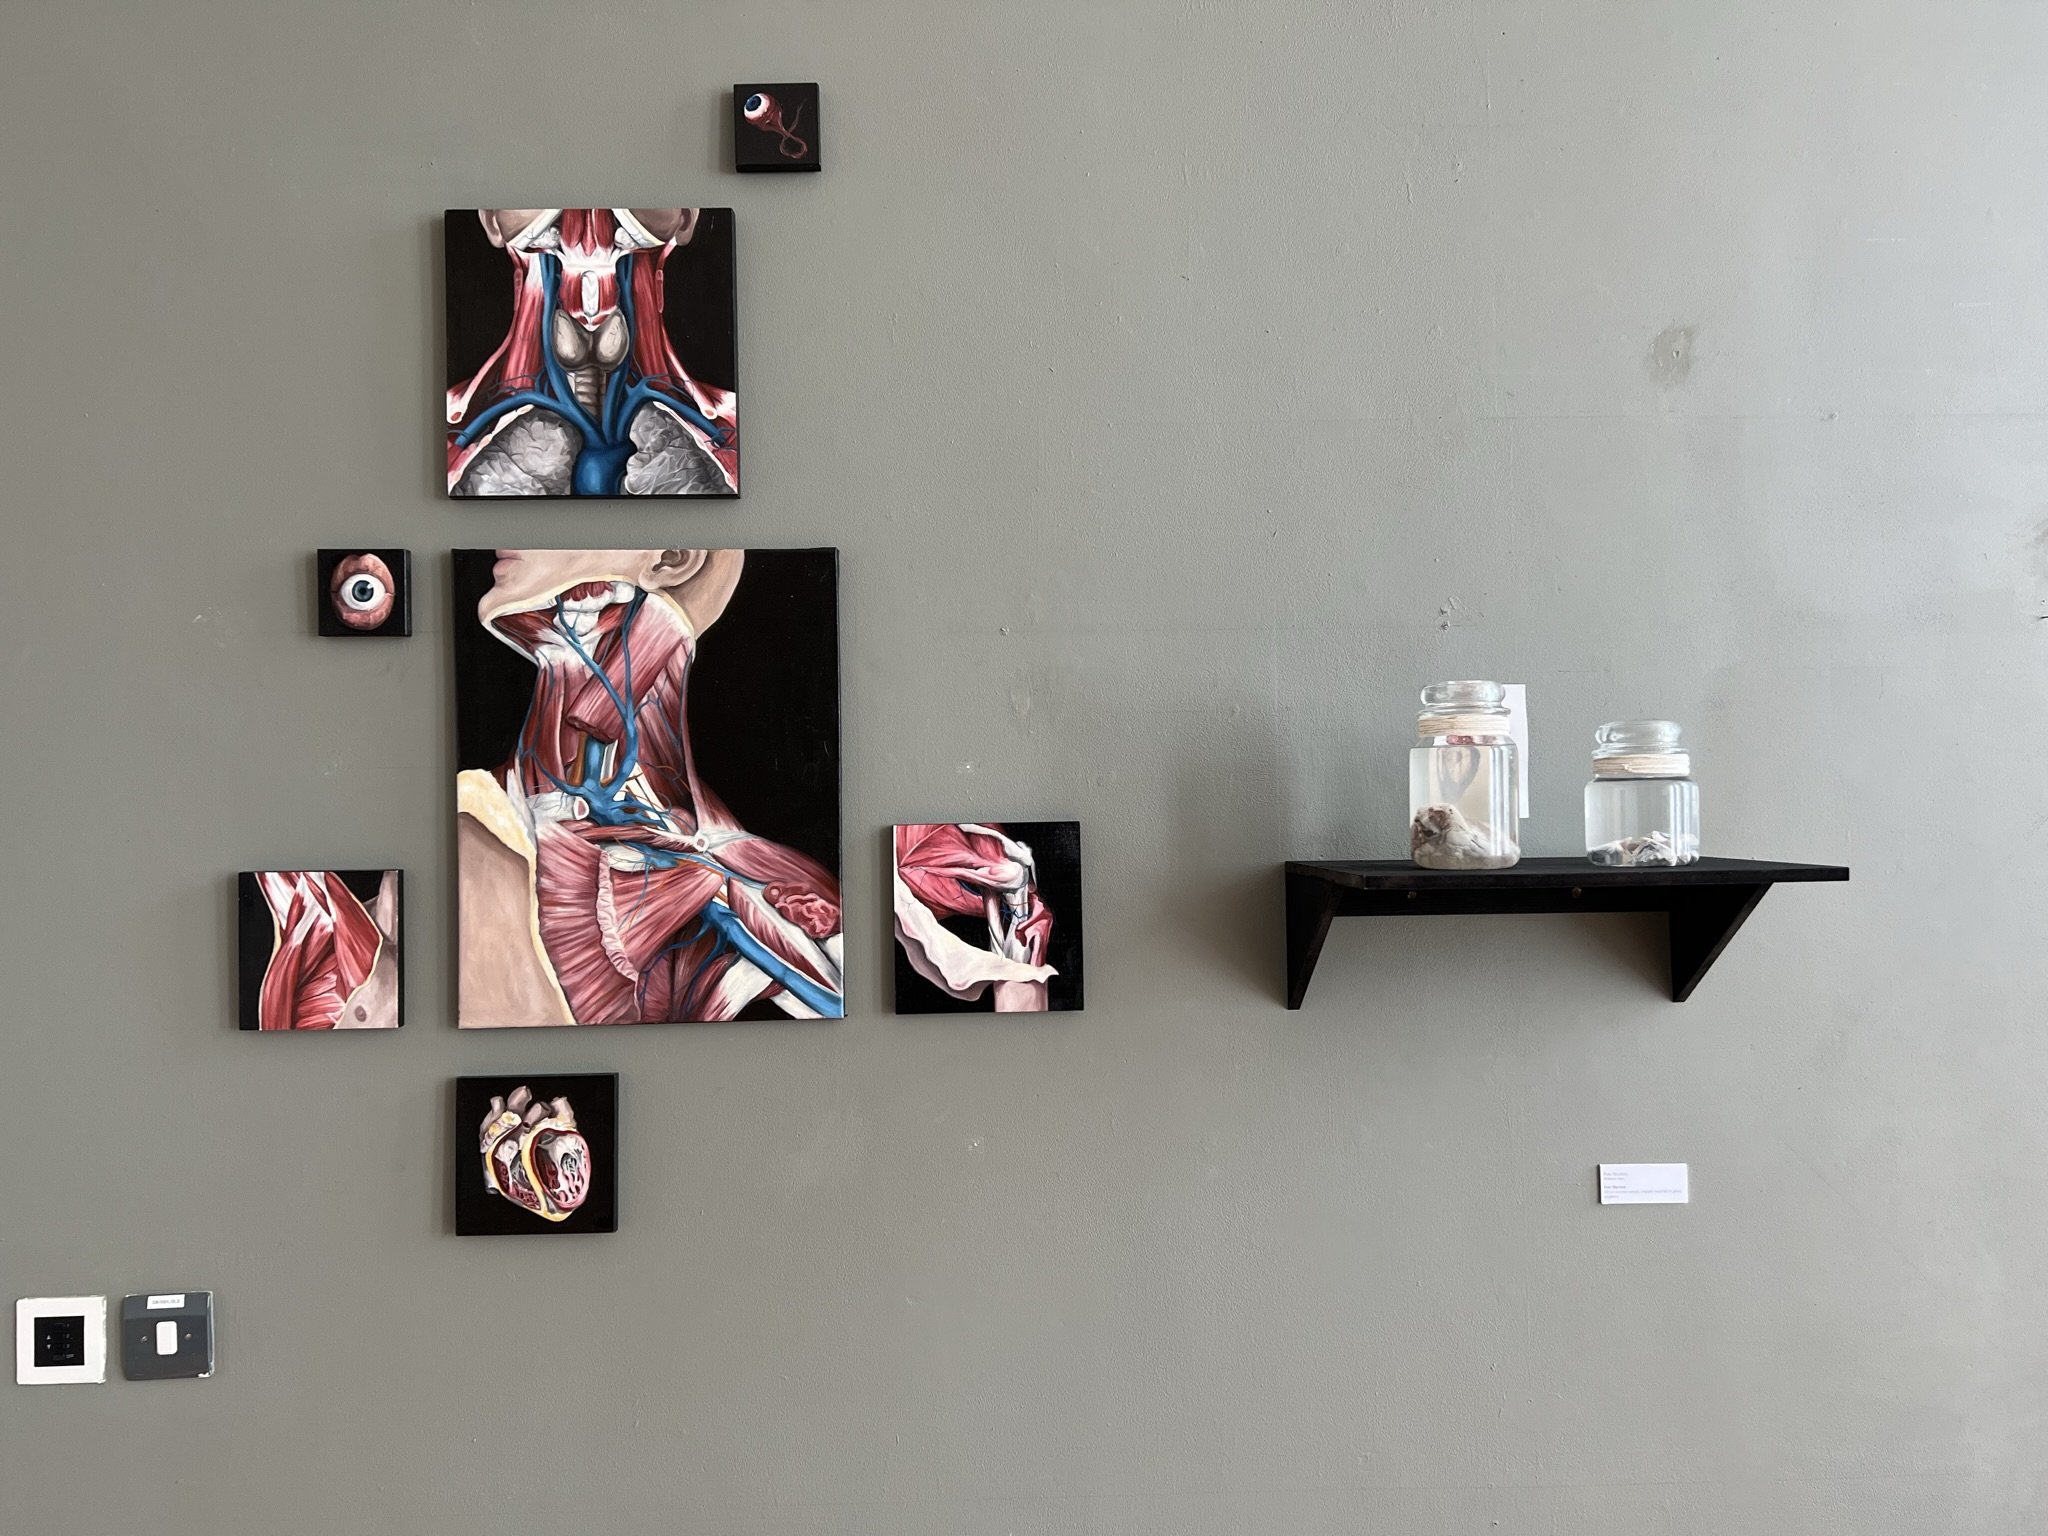
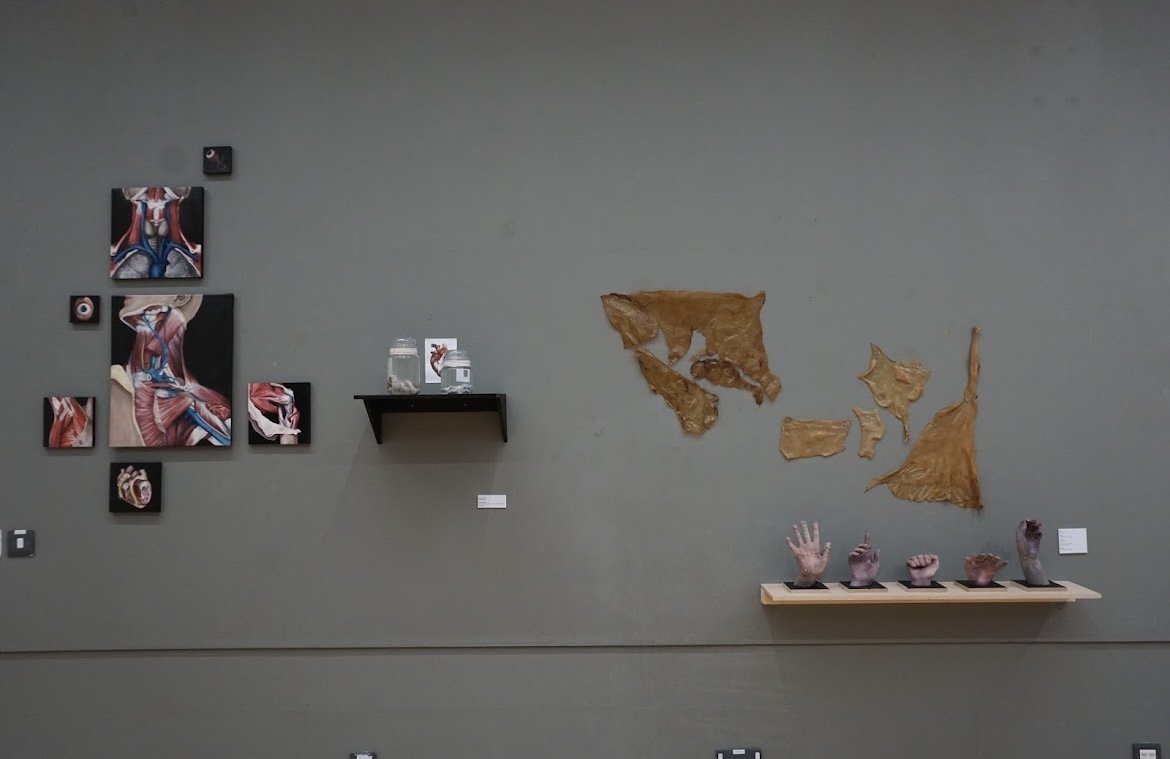
Due to this time restriction we couldn’t repaint the walls which was our original plan, instead having to work around the odd colour we were left with. This just left us with hanging/displaying our work on the day. For my work ‘Post Mortem’ i had 2 glass jars i wanted displaying at the same height as the paintings, for this i knew i needed a shelf. Desiging the space involves being aware when youll need specialist thing made such as shelves/plinths.
Learning to Install the Work
When installing your work in a space you need to be aware of the safety regulations of said space, fire hazards etc, as well as being familiar with the tools you’ll be using.
Hammering/Drilling is the most common methods of installing work, if you are unaware on how to use any of these tools then it is best to ask someone who does to avoid any risk of harm.
At our location we had access to technicians who were willing to show those who weren’t familiar with the tools on how to properly use them. I would always recommend having someone with you when installing work, just in case.
Examples of tools I needed to install my work (Paintings and a shelf):
-Hammer
-Nails/Screws
-Drill
-Spirit Level
-Pencil
Opening Night!
Once the exhibition is all ready to go, you have opening night! This is the biggest night of the exhibition, and when the majority of your viewers will attend. Its also an amazing time to network, so make sure you attend!
Enjoy the night. Expect questions surrounding your work and perhaps some interested in purchasing the work itself. Socialize and get connections, you might find some amazing opportunities.
Post Exhibition
As obvious as this might be, you must leave the space in the same state you found it. Fill all those holes in the wall, repaint it if you need to and give it a good sweep. If you leave the space in an inappropriate state you might be closing yourself off to future collaborations with the location.


